
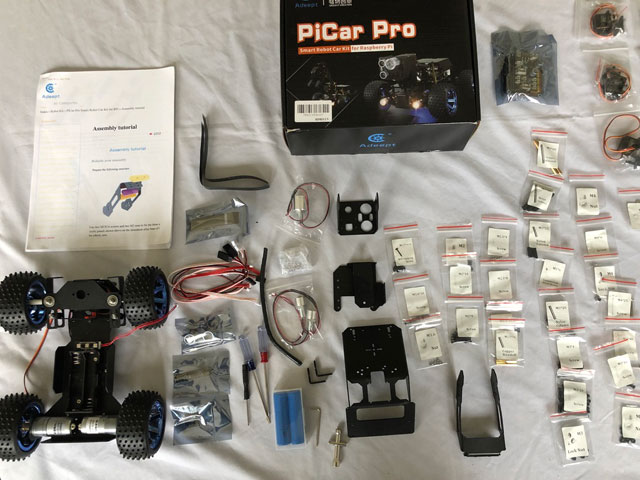
The above picture shows most of the parts. The picture below shows the remainder of the parts. The Assembly Tutorial document shown in the above picture is available online, and highly recommended to print a copy out prior to assembling the kit (https://www.adeept.com/learn/tutorial-264.html). The parts list for the car can be found here.
There are multiple sets of (online) documentation with significant overlap, but important details in each that is not in the other:

The kit comes with all of the “necessary” tools to assmemble the kit, but having some tweezers, a bright light and a magnifying glass will be helpful.
When doing the inventory we strongly suggest that you lay the parts out in a similar manner next to the location that you are going to assemble the kit. It will make it easier to find each of the parts at the appropriate time. Many of the screws, nuts and washers are color coded in the assembly document, and we found it helpful in some cases to specifically identify the colored by part number. Each of the small bags has a part number printed on its label. Given the sheer number of small bags, it is helpful to lay them out in alphabetical order.
The kit that we received from Amazon had the car chasis already assembled. We don’t know if Adeept is now selling the kits with the chasis assembled, or we received a reconditioned kit as new.
There were no missing parts, and extra srews, nuts and washers of the parts that we were most likely to drop and lose in the shag carpet.
Raspberry Pi – The Brains
A Raspberry Pi must be purchased separately. The kit will work with either a Raspberry PI 3B or 4. We used a 3B from another completed project. Without it, the robot is simply a collection of parts. It should be purchased and initialized prior doing any other assembly.