
The kit assembly process can be divided into the following steps:
- Read/Scan the manual
- Watch the video
- Download & expand the two (2) SunFounder Sloth zip files
- Download and install the Arduino IDE
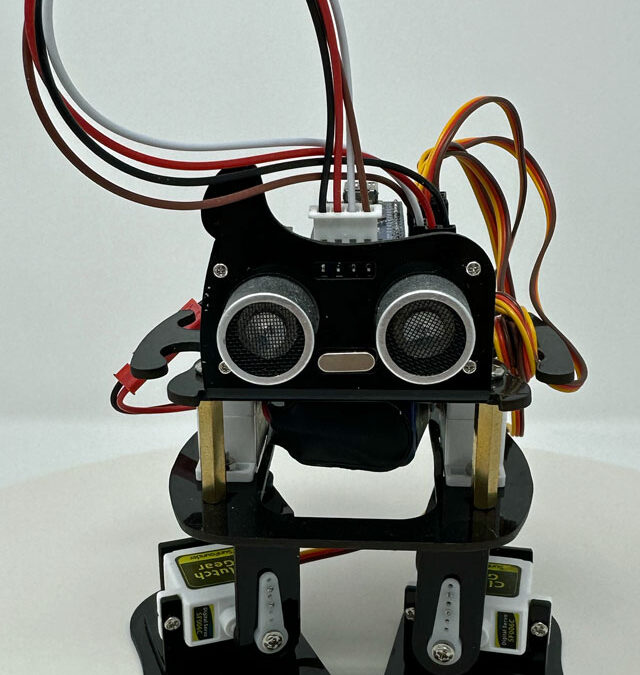
- Test the servos and ultrasonic module
- Assemble the robot kit
Unfortunately the manual does not clearly identify the steps in this sequence. There is background information sprinkled into the instructions which is informative, but necessarily relevant to the kit construction.
1. Read and use the manual. Even if you are an intermediate to expert kit builder there a few key nuances, like test the electonics and hardware BEFORE you put it together. More vendors should advocate that. Nothing worse than assembling something, finding that some key component doesn’t work, ordering another part, dissassembling and reassembling it again.
2. Watch the video. Click here for a SunFounder created 14+ minute assembly video. The video does NOT include everything. For example in the beginning the video skips the the Arduino IDE software installation on your computer and the ultrasonic module test.
3. Download the SunFounder Sloth zip files (pages 5-6). The second download is for the Mixly graphical programming tool. You do NOT need to use Mixly or the second file. So ignore it at this time. After you’ve assembled the Sloth and tested it, then you can consider working with this file.
The manual does not suggest where you should download the zip file(s) on your local computer. I suggest that you create a new folder named SunFounder Sloth and place it in easy to find location. Then download and expand the zip file(s) into that folder.
Note that the expanded zip files also contain another, possibly more up to date version of the manual, and the latest version of the program software, which may or may not match the printed manual.
4. Download and install the Arduino IDE (pages 7-10).
5. Test the servos and ultrasonic module (pages 12-15)
6. Assemble the kit (pages 16-26).