
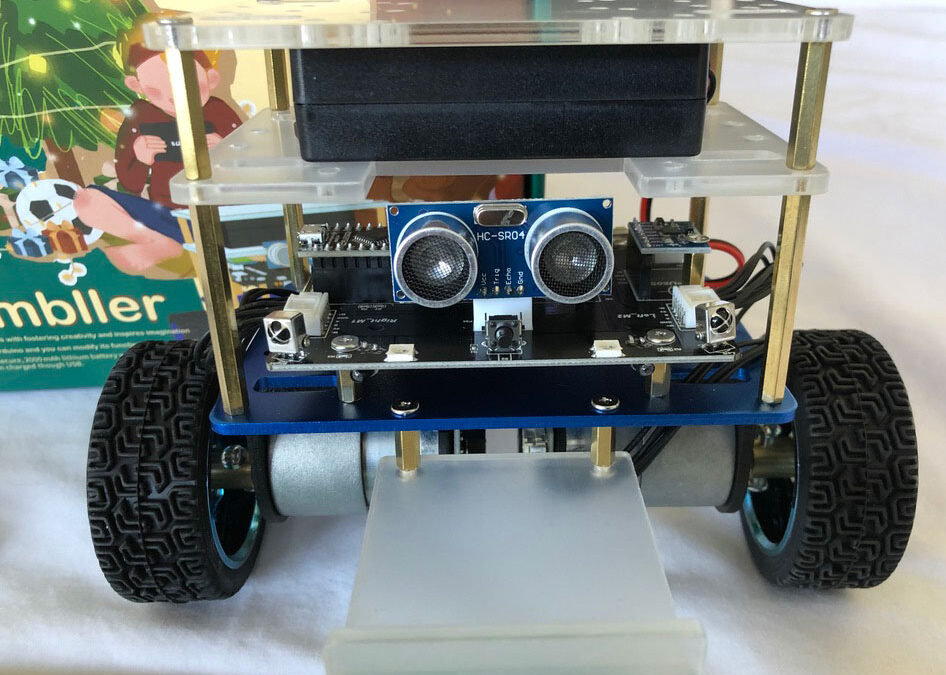
In part 3 we constructed the Elegoo Tumbller robot. If you have not charged the battery, charge it now before continuing. Use the USB Type C cable to charge the robot’s battery.
The robot’s Arduino Nano microcontroller is preloaded with a fully functional program that demonstrates all of the robot’s capabilities.
Continue the Elegoo build video while testing your robot:
- Start the robot (11:18)
- Test the auto follow operation (11:30)
- Obstacle-Avoidance mode (11:50)
- Auto-follow Mode (Backward) (12:12)
- Glowing Mode (12:40)
- Standby Mode (12:53)
- Mobile Control (13:02)
- Rocker Mode (13:18) Includes a demonstration of directional control including turning and moving
- Bounce Mode( 13:39) [I never understand this mode or could tell that anything is/was different]
- Auto-follow Mode (Forward) (13:47)
- Obstacle-Avoidance Mode (14:06)
- Auto-follow Mode (Backward) (14:25)
- Standby Mode (14:49)
- Light Effect Switch (14:58)
- Lighting Adjustment (15:24)
- DIY Control (15:38)
Tips
As stated in the video:
- DO NOT start testing on a table. The robot minimally needs about a 3′ x 5′ space that has a fence to contain the robot (i.e., it is very easy for it to run off the edge of a table)
- Peroidically check the screw on the coupling and make sure to keep it tight.
- To stop the wheels from running, tilt the Tumbller robot forward or backward more than 27 degrees.
- Don’t run the robot in bright sunlight or other bright lights since it will adversely effect the infrared sensors.
- The LED will flash red when the battery is low on power.
- The USB interface is only used to download new programs. When downloading programs, make sure to turn off the battery.
- To charge the battery, use the same cable that is used to download programs to the robot.
The DYI control will use a special Elegoo mobile program that you download to your cellphone.